In this instance, Stephen Williams has brought a broken Commodore 64 (C64) computer back to life. He’s stripped out the original motherboard, replaced it with a Raspberry Pi computer, and used Lego bricks to build the internal housing. It reminds us of Christian Simpson’s fantastic Brixty Four project (magpi.cc/brixtyfour). But while that sought to create a new C64 case out of Lego, Stephen’s project retains the original, iconic ‘breadbin’ plastic.
“I’ve played with Raspberry Pi since the computer first came out, making and discovering new things along the way,” he tells us. “I had a truly broken Commodore 64 that I felt would benefit from a new lease of life. My project blends retro with a modern twist, and brings together some of the things I’ve liked to play with over the years – notably Lego, the C64, Raspberry Pi, and Arduino.”
Building the project
Stephen turned to Lego for a practical reason. “I didn’t have access to a 3D printer, and Lego has so many different pieces that it’s really versatile to experiment with,” he says. “I already had a Lego Raspberry Pi case, so it seemed to make sense to build around it. I wasn’t sure what the fit would be like inside the C64, so I bought a mix of pieces from a market stall to see what would work.”

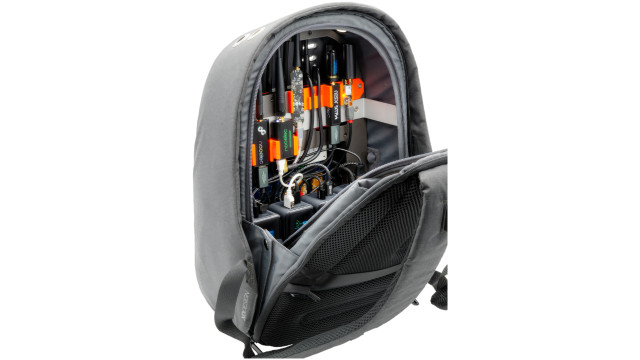
He says it was important to build a solid base inside the C64 and position the USB, HDMI, and other ports in the right places. “I didn’t want to modify the computer’s case in any way and Lego helped me to do all of this.” The rest of the build was rather straightforward and involved inserting a Raspberry Pi computer into the case so that the ports were accessible, inserting a microSD card with RetroPie installed on it, and connecting to the C64 keyboard.
To do this, Stephen used an Arduino Micro. “It provides the mechanism to get a fully working C64 keyboard for Raspberry Pi,” he explains. “The basic idea is to scan the pin readings on the Arduino which are connected to the row and column pins on the C64’s matrix keyboard. Using the Arduino software libraries, the row and column pins are scanned, and the mapped keystrokes are sent to the computer connected to the Arduino via USB.”
Pulling it apart
Since creating this project, Stephen has acquired a 3D printer. As such, he’s been replacing the Lego using printed parts, again for practical reasons. “When Raspberry Pi 4 came out, I wanted to use it but because I needed to install a fan, I couldn’t use the Lego Pi case any more,” he says. “The 3D build means I’ve been able to get closer to the original Commodore 64 regarding the location of the power socket and switch.”

Even so, he’s not always entirely faithful to the C64. “Since RetroPie brings many emulators into one place, it’s been a bit surreal playing a Spectrum game with the C64 sitting in front of me, but I’ve become used to it. RetroPie is also easy to extend to include things such as homebrew programs, media players, and bespoke themes. It’s been fun to dabble with these too.”