
Creating amazing projects is easy with a Raspberry Pi, but first you need to plug it in and set up Raspbian, the default operating system.
This guide will get you up and running in no time.
The Raspberry Pi is a wonderful microcomputer that brims with potential. With a Raspberry Pi you can build robots, learn to code, and create all kinds of weird and wonderful projects.
Hackers and enthusiasts have turned Raspberry Pi boards into fully automated weather stations, internet-connected beehives, motorised skateboards, and much more. The only limit is your imagination.
But first, you need to start at the beginning. Upon picking up your Raspberry Pi for the first time, you’re faced with a small green board of chips and sockets and may have no idea what to do with it. Before you can start building the project of your dreams, you’ll need to get the basics sorted: keyboard, mouse, display, and operating system.
Creating projects with a Raspberry Pi is fun once you’ve mastered the basics. So in this guide, we’re going to take you from newbie zero to Raspberry Pi hero. Grab your Raspberry Pi and let’s get started.
See also:
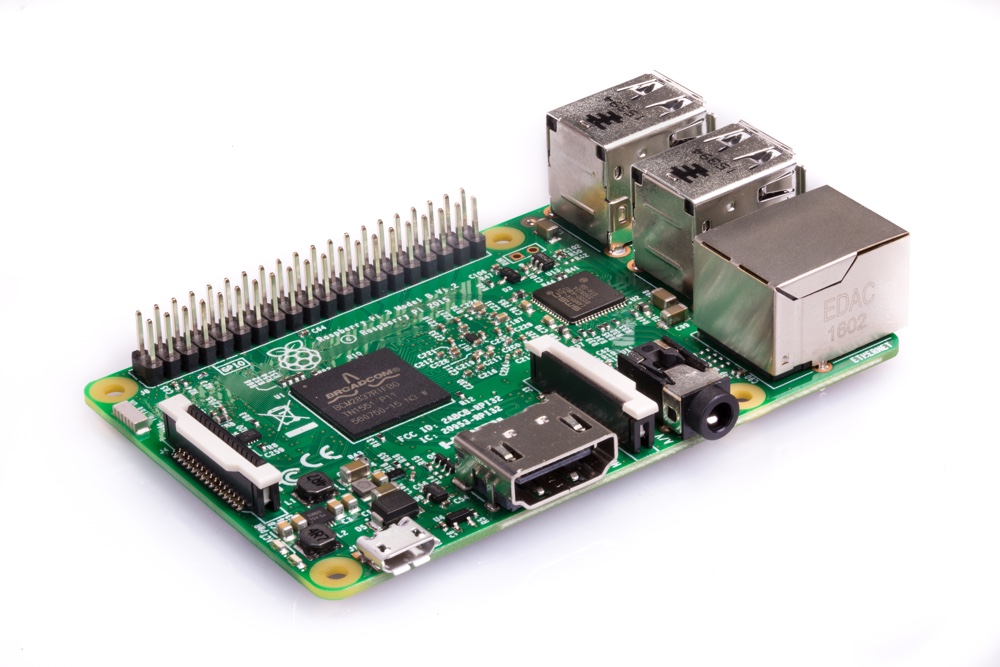
Get to know the Raspberry Pi 3
The Raspberry Pi 3 is the latest model, and the version with the most features. It's the fastest board, and has the most connections (four USB sockets, Ethernet and wireless networking, and so on).
Featuring the latest 1.2GHz quad-core ARM CPU (central processing unit), the Raspberry Pi 3 is faster than many smartphones, and powerful enough to be used as a desktop computer.
It looks like this:
Get to know the Raspberry Pi Zero W
Ultra-low-cost, super-tiny, and incredibly powerful, the Pi Zero W is the tiniest Raspberry Pi computer
The Pi Zero is an ultra-low-cost and incredibly small microcomputer packed onto a single board. It’s roughly a third the size of the Raspberry Pi 3, and has a tiny price tag ($10/£10) to match.
For all that, the Pi Zero W is packed with enough power to handle demanding computer projects.
The Pi Zero W looks like this

Despite its diminutive stature, the Pi Zero W is no toy. The Pi Zero W is a fully fledged microcomputer with a 1GHz ARM CPU and 512MB RAM. It packs enough technology to run the full version of Raspbian, just the same as the Raspberry Pi 3.
The smaller board is more minimalist than other Raspberry Pi units, which makes it more challenging to set up. But it’s a rewarding device that’s ideal for creating Internet of Things, wearable, and embedded projects.
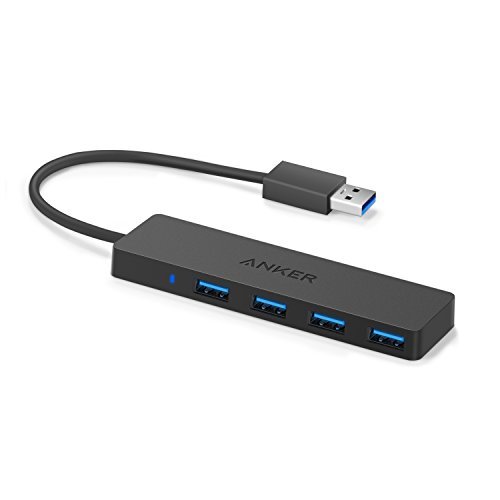
Ports are minimal on the Pi Zero, and it sports a single USB port that’s smaller than a regular one. You’ll need a micro USB-to-USB adapter to connect your keyboard. You may also want a USB hub to connect a mouse and other devices like a USB camera.
The Pi Zero W has a built-in camera connector. Like the other Raspberry Pi devices, you can connect a Raspberry Pi Camera Module or NoIR Camera Module directly to the Pi Zero W. This enables you to turn the Pi Zero W into a super-low-cost camera for taking photos and recording videos.
Thanks to the low power draw of the Pi Zero W, this is ideal for time-lapse photography. You just set it up and let it get on with it.
Hooking a Pi Zero W up to the internet is easy, thanks to built-in wireless networking. It also features Bluetooth so you can attach wireless devices.
Setting up a Pi Zero is slightly more tricky than a Raspberry Pi 3, but it’s also a lot of fun. The end result is a super-cheap, super-powerful computer that runs a full operating system.
What you need to set up a Raspberry Pi 3 or Pi Zero W
You don’t require much to get your Raspberry Pi started (no matter which model you have): a smartphone charger, a recycled HDMI cable, and a keyboard and mouse are all you need.
Most items can be sourced from computer hardware around the house, or begged and borrowed from friends and family. If you’re looking for the ultimate in low‑cost computing; the Raspberry Pi is it.
You should be able to source, salvage, and scavenge most equipment you need to get a Raspberry Pi up and running. To get the most out of your Raspberry Pi in the long term, though, you should use high-quality components.
Any equipment you can’t recycle can be picked up from the Raspberry Pi Shop or from distributors like Element14, Allied Electronics, and RS Components.
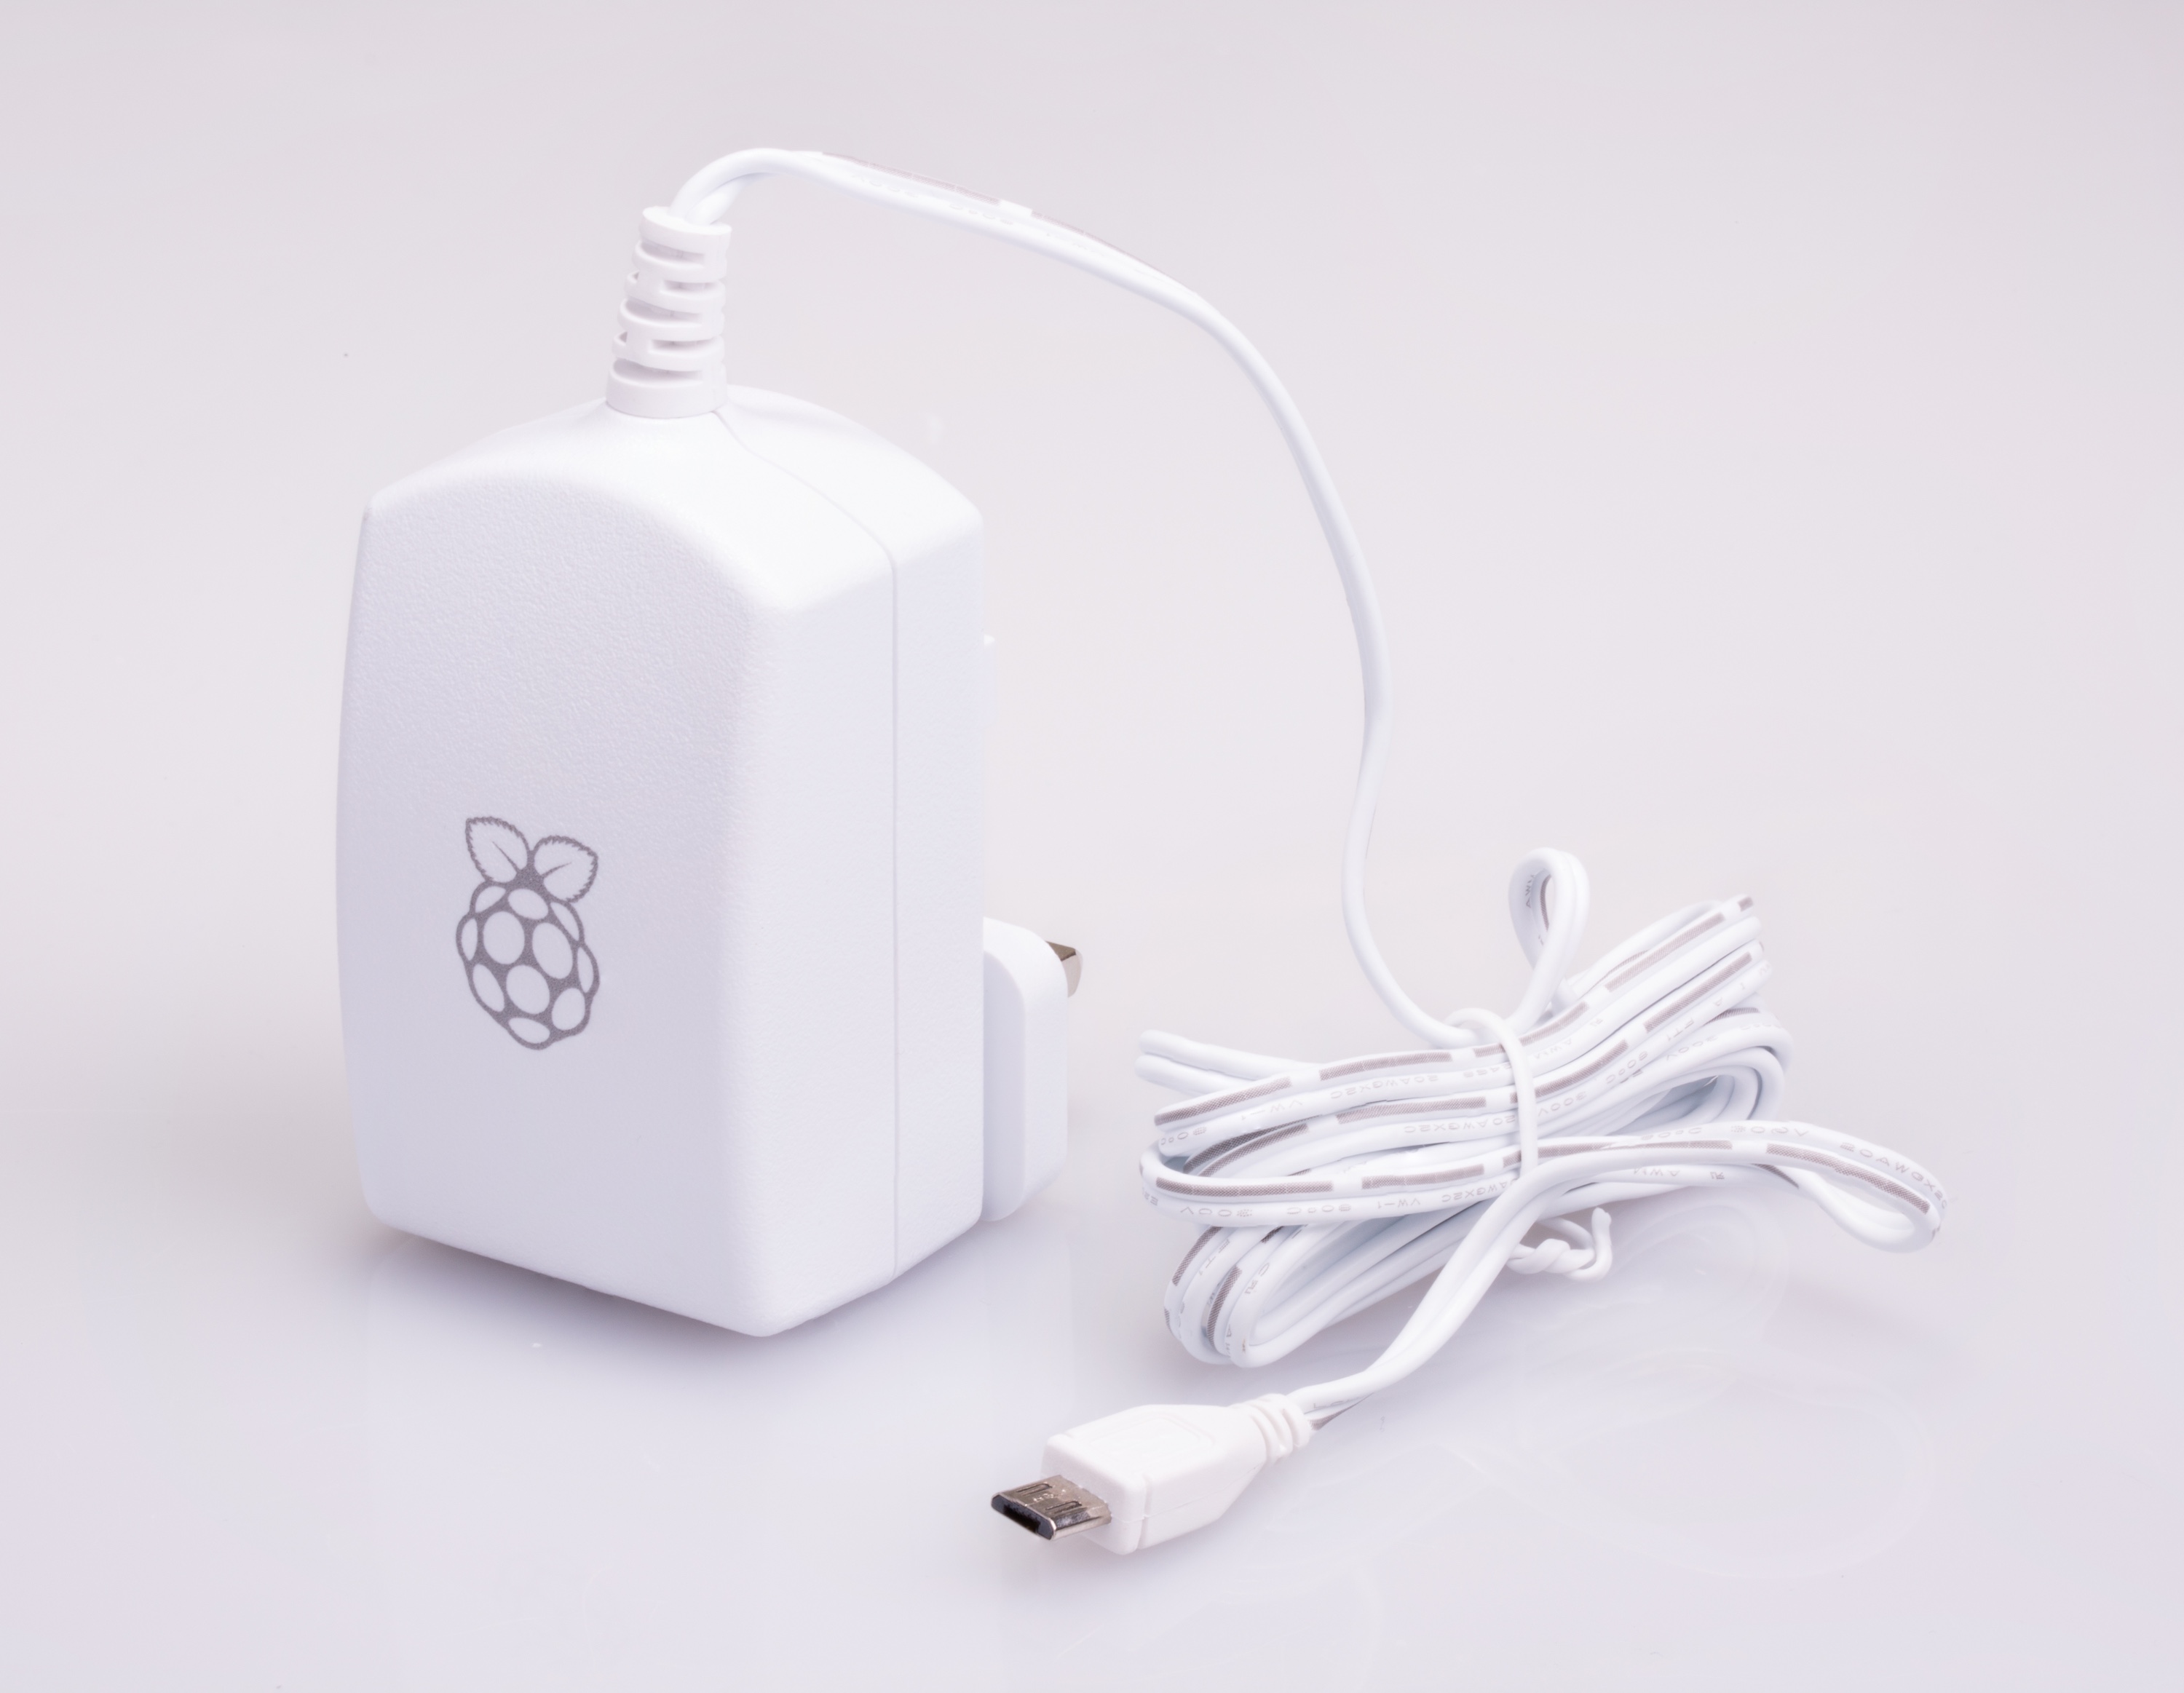
Power your Raspberry Pi
The Raspberry Pi is powered using a micro USB cable, the same type used by many smartphones. You can also buy an official power supply, which supplies a regular amount of power.
Not all USB power adapters are born equal. A reliable branded adapter will provide a steady stream of power, even when you attach multiple devices to the Pi.
A good 2 A or 2.5 A power supply provides you with enough power to run your Pi Zero. Many people use an Android or iPhone adaptor and micro USB cable. Or you can buy an official Universal Power Supply.
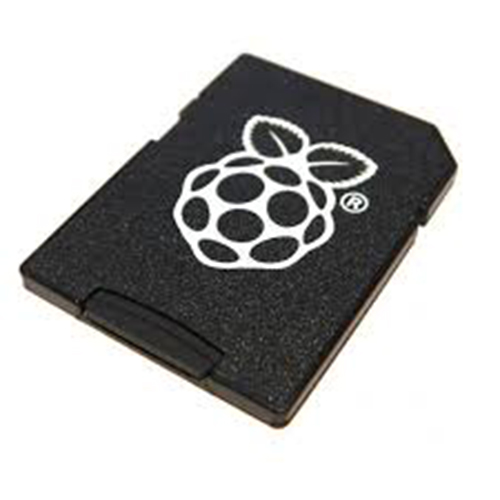
A micro SD Card and the Raspbian operating System
The operating system, ‘Raspbian’, is loaded onto a microSD card and plugged into the Raspberry Pi. The official SD Card is pre-loaded with software called NOOBS (New Out Of Box Software) which helps you install Raspbian. You can also download the NOOBS software and copy it to an old SD Card and use it to run your Raspberry Pi.
See: Beginner's Guide to NOOBS
Use a HDMI monitor
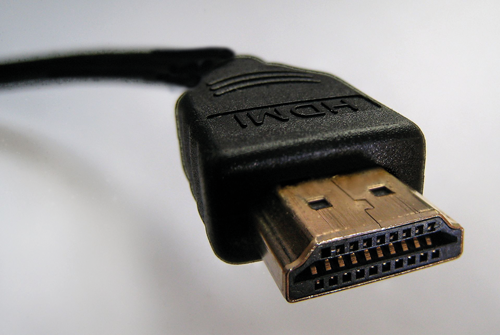
An HDMI socket enables you to connect the Raspberry Pi to a monitor or a modern television set.
An HDMI cable is the easiest way to connect your Raspberry Pi to a computer monitor or television. You don’t need an expensive one, and most people recycle one from an old games console or DVD player.
To keep the size down, the Pi Zero features a smaller-than-normal mini HDMI socket. You’ll almost certainly need a mini HDMI-to-HDMI adapter or cable to connect the Raspberry Pi to a television or monitor. Most Pi Zero W devices are sold with the mini HDMI-to-HDMI adaptor.
Attach a keyboard and mouse
A keyboard and mouse are connected via standard USB sockets. An Ethernet cable can be plugged directly into a router to provide network access (or you can connect to a wireless network).
What keyboard to use
Any standard USB keyboard can be used to enter commands to your Raspberry Pi. You can use a Bluetooth keyboard with the Raspberry Pi 3, or any other Pi with a Bluetooth dongle attached. A wired keyboard is easier to use when setting up your Raspberry Pi.

Attach a mouse to your Raspberry Pi
Any standard mouse will work with the Raspberry Pi, although ones with two buttons (non-Apple mice) work better. If your wired keyboard lacks a USB socket, then you'll need a USB hub to connect a mouse and keyboard. A Bluetooth mouse will work once it's paired.

Insert the micro SD card and power up
On the underside of the Raspberry Pi 3 board is the SD card slot. If you have an official micro SD card it will boot into NOOBS. Follow the on screen instructions to install Raspbian, the official operating system.
If you're using your own micro SD card you need to download NOOBS from the Raspberry Pi website, format the SD card, and copy the files across. This preloads the operating system onto a micro SD card, and you then use it to boot up the Raspberry Pi.
Sounds complex? Don't worry, this guide to installing NOOBS has everything you need to know.
The micro SD card in your kit acts as the hard drive for your Raspberry Pi. You install the Raspbian operating system onto the card, then all your documents, files, and projects are saved to it as you work.
If you want to use a larger card, and are wondering which brand and type to get, take a look at the results from benchmark tests done by Raspberry Pi fan Jeff Geerling. Some cards run up to four times as fast as others.
Connect to a wireless network
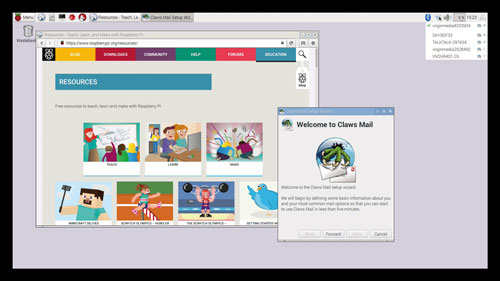
Raspbian boots into a familiar GUI-style display (like you'll see on Windows and macOS).
The Pi 3 and Pi Zero W both feature built-in wireless LAN and Bluetooth. This enables you to connect to a wireless router and get online without using a WiFi dongle (which was required on older Raspberry Pi).
Click on the wireless networking icon in the top right of the screen and choose your wireless network. Enter the wireless password and you'll now be online. You're now ready to start using your Raspberry Pi to learn computing and create amazing projects.
We hope this guide has helped you get started with the Raspberry Pi. Enjoy your new single board computer (SBC). Now get thinking about all the great projects you can make with it.
Take a look at our Raspberry Pi Projects Book Volume 3 for ideas.
Subscribe and never miss an issue
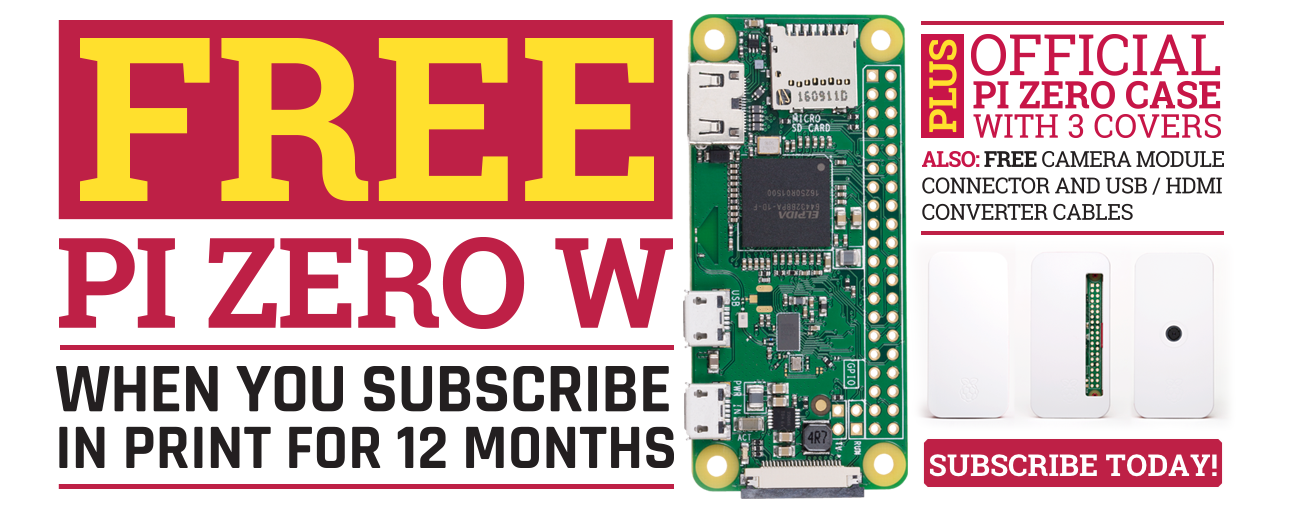
Get a a brand new Raspberry Pi Zero W, a case for it, and a selection of adapter cables with a twelve-month print subscription to The MagPi!


