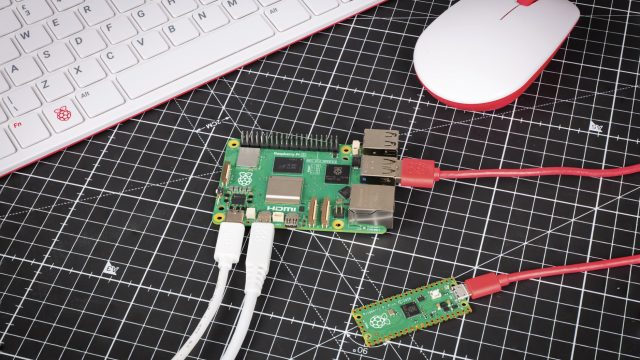
The spiky pins sticking up along the edge of the Pi (or the holes on the Pi Zero) are the gateway to interacting with things in the real world.
Follow these simple instructions to use those GPIO pins with Node-RED drag-and-drop visual programming to make something magical you can show off with pride.
Once you have mastered this, there is no limit to what your colour-changing orb can display: have it light up when you have a Twitter mention, use it as a traffic light system for your home energy usage, or even to highlight if you need to run for your bus.
You'll need
White ping-pong ball
Network-connected Raspberry Pi
LedBorg
Alternatively: various resistors (100R, 220R, and 270R), various LEDs, breadboard, and cables
STEP-01 Getting set up
Before turning on your Pi, connect your devices. If using a LedBorg, connect it as per the instructions. If you’re using LEDs, connect it up as below.
You’ll need to boot into Raspbian Jessie and have your Pi connected to the network. Open Node-RED – click on Menu, Programming, Node-RED – and a console will open. At the top of the console, there are instructions such as:
‘Once Node-RED has started, point a browser at http://192.168.X.XXX:1880’
If using a Pi 2, you can do this in the browser. The address http://127.0.0.1:1880 will also work, as will localhost:1880 – but only if you have already connected to a network. If you’re using another type of Pi, it can be easier to connect from another computer’s browser using the address provided.
STEP-02 Write a flow
Drag an inject node from the Input section of the left menu into the middle pane. Its name should change to timestamp. Repeat with a green debug node from Output, its name changing to msg.payload. Join the two: click the small grey pimple on the right of the timestamp and drag it to the pimple on the left of msg.payload. A wire will connect the two. Click the debug tab on the top right. Blue circles on top of each node show the flow has not been saved/deployed; click the red Deploy button, top right, and the blue circles disappear. Activate the inject node by clicking the square to the left of timestamp; the resulting message (‘payload’) appears in the debug tab.
STEP-03 Change the flow
Double-click the inject timestamp node. A dialog box appears. Click the dropdown for Payload and choose ‘string’. Under ‘string’, type ‘red’; this will be the message payload. In the ‘name’ box, rename the node e.g. to ‘red’, then click OK. Deploy and then inject by clicking the square on the left of the ‘red’ node. The message payload (red) appears in the debug tab.
Add four more inject nodes and change the message payloads to green, blue, white, and black. Connect them all to the debug msg.payload node and deploy. Inject each colour – the message payloads appear in the debug tab.
STEP-04 Add lights and orb
For both the LedBorg and separate LEDs, scroll down the left-hand pane and drag a ledborg node onto the flow. Connect the inject nodes to the ledborg. Deploy and click some inject nodes; the LEDs or LedBorg will light up with the corresponding colour.
Slice the bottom off the ping-pong ball and place over the LedBorg to act as a diffuser. If using LEDs, cut a small hole in the bottom of the ping-pong ball and push the LEDs into it. Keep the LEDs as low as possible inside the ball; use Blu-Tack to hold the ball if necessary.
STEP-05 Connect to Twitter
Add a twitter input node from the social section – it has a pimple on the right. Double-click and add Twitter credentials; you’ll need to be logged into Twitter. In the ‘for’ box, add ‘cheerlights’. Add a function node; this is used to keep the wires tidy, so double-click and call it ‘spaghetti junction’. The message will pass through and not be changed. This node can be used for adding JavaScript code in future projects.
Delete all the wires, and rewire all the colour inputs and twitter node to the input of the spaghetti junction node. Connect a debug node to the output of the spaghetti junction.
STEP-06 Extract the colour
The LedBorg only accepts certain colours; extra words such as ‘cheerlights’ means it won’t work. Connect a yellow switch node to the output of spaghetti junction. In its dropdown box, select ‘matches regex’; next to that, type ‘red’ and tick the ‘ignore case’ button.
Click ‘+ rule’ and repeat for all the cheerlights colours; they’re shown in the info tab for the ledborg node. Connect a yellow change node to each of the outputs of the switch node. Double-click each one, and set the name and the payload to the required colour.
Connect all the outputs of the change nodes to another spaghetti junction node, and then to an ledborg node before deploying. You can add more sheets on your Pi, but make sure there is only one ledborg node, and pins 11,13, and 15 aren’t used in other flows.
Code listing
The flow can be found on the Node-RED repo or on GitHub. Copy the flow to the clipboard, then import it into Node‑RED. Click on the NodeRED menu (the hamburger icon), then Import, Clipboard, paste the flow, and click OK.


