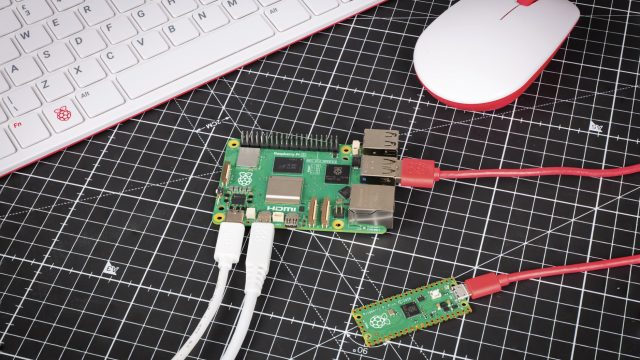
Nothing is as personal as the level of comfort someone feels. In shared office spaces it’s almost impossible to create a climate in which everyone feels comfortable, especially when these shared spaces are large. With about 40–50 people in a room, we can’t all be happy. We’ve put together some components, both hardware and software, to keep us cool. Here’s how you can do the same…
You'll need
STEP-01 Wire up the sensor
First things first: this project is all about monitoring temperature, so we need to attach the sensor. It’s important to do this before attaching the display. Wire up the temperature sensor using the PiFan wiring diagram below.

STEP-02 Attach the other components
After you’ve attached the sensor, mount the display on the Raspberry Pi. It slots nicely on top of the GPIO pins, so this should be easy. Now you can build the acrylic case around it to support the display and protect your Raspberry Pi. Of course, you should make sure the sensor stays on the outside of the case. After completing the case, plug the USB fan into your Raspberry Pi. If your USB fan has a power switch, hit it to make sure it works.
STEP-03 Set up the OS and display
The manufacturer of this screen has an image of Raspbian (with Raspberry Pi Desktop) available, which has the display driver built in. Download it to burn to an SD card. Follow our guide to burn SD cards.
If you want to install the driver manually, or have another type of screen, that’s no problem. Just be sure to use Raspbian with the Raspberry Pi Desktop so that Chromium is available.
STEP-04 Download the software
Open the Terminal (or dial in with SSH from another computer) to install and download all of the software. We’ll start with the prerequisites. Install them with the command:
sudo apt-get install nginx-light supervisor git build-essential python-dev python-pip
Also install the Python framework Falcon by executing:
sudo pip install falcon==1.0.0
Now clone and install the sensor module driver:
git clone https://github.com/adafruit/Adafruit_Python_DHT.git /tmp/dht
cd /tmp/dht
sudo python setup.py install
Now clone the PiFan GitHub repo with the following command:
git clone https://github.com/jeroenpeters1986/piFan.git /home/pi/pifan
All software needed will now be on the Raspberry Pi.
STEP-05 Configure the software
We now need to configure the software we just downloaded. The following commands will configure the web server and create three processes that will be supervised (so they are always available):
sudo rm /etc/nginx/sites-enabled/default
cd /home/pi/pifan/config
sudo cp nginx-sites-enabled-default
/etc/nginx/sites-enabled/default
sudo cp supervisor-* /etc/supervisor/conf.d/
The last requirement is to autostart Chromium with the interface. Create the autostart folder and change directory to it:
mkdir -p /home/pi/.config/autostart
cd /home/pi/.config/autostart
Within this directory, create a file called AutoChromium.desktop:
sudo nano AutoChromium.desktop
Then type in the following:
[Desktop Entry]
Type=Application
Exec=/usr/bin/chromium-browser --noerrdialogs --disable-session-crashed-bubble --disable-infobars --disable-translate --kiosk http://127.0.0.1
Hidden=false
X-GNOME-Autostart-enabled=true
Name=AutoChromium
Now save the file and reboot the Raspberry Pi, so you can see if it worked.
STEP-06 Customise your PiFan
If you know a thing or two about HTML and CSS, and a little bit about JavaScript, you can customise the interface yourself! There is only one HTML file you can edit. In there, you’ll also see the JavaScript and CSS references. To customise the PiFan touch interface, edit the /home/pi/pifan/webinterface/index.html file. Once you have made changes, tap the refresh button on the top-right of your touchscreen to see your changes.


