
Congratulations on becoming a Raspberry Pi 4 explorer. We’re sure you’ll enjoy discovering a whole new world of computing and the chance to handcraft your own games, control your own robots and machines, and share your experiences with other Raspberry Pi fanatics.
Getting started won’t take long: just corral all the bits and bobs on our checklist, plus perhaps a funky case. Useful extras include some headphones or speakers if you’re keen on using Raspberry Pi as a media centre or gaming machine.
To get set up, simply format your microSD card, download NOOBS, and run the Raspbian installer. This guide will lead through each step. You’ll find the Raspbian OS, including coding programs and office software, all available to use. After that, the world of digital making with Raspberry Pi awaits you.
What you need to set up Raspberry Pi 4
- Raspberry Pi 4. If you don't have many of the parts listed below you can buy a Raspberry Pi 4 desktop kit (which contains a Raspberry Pi 4, keyboard, mouse).

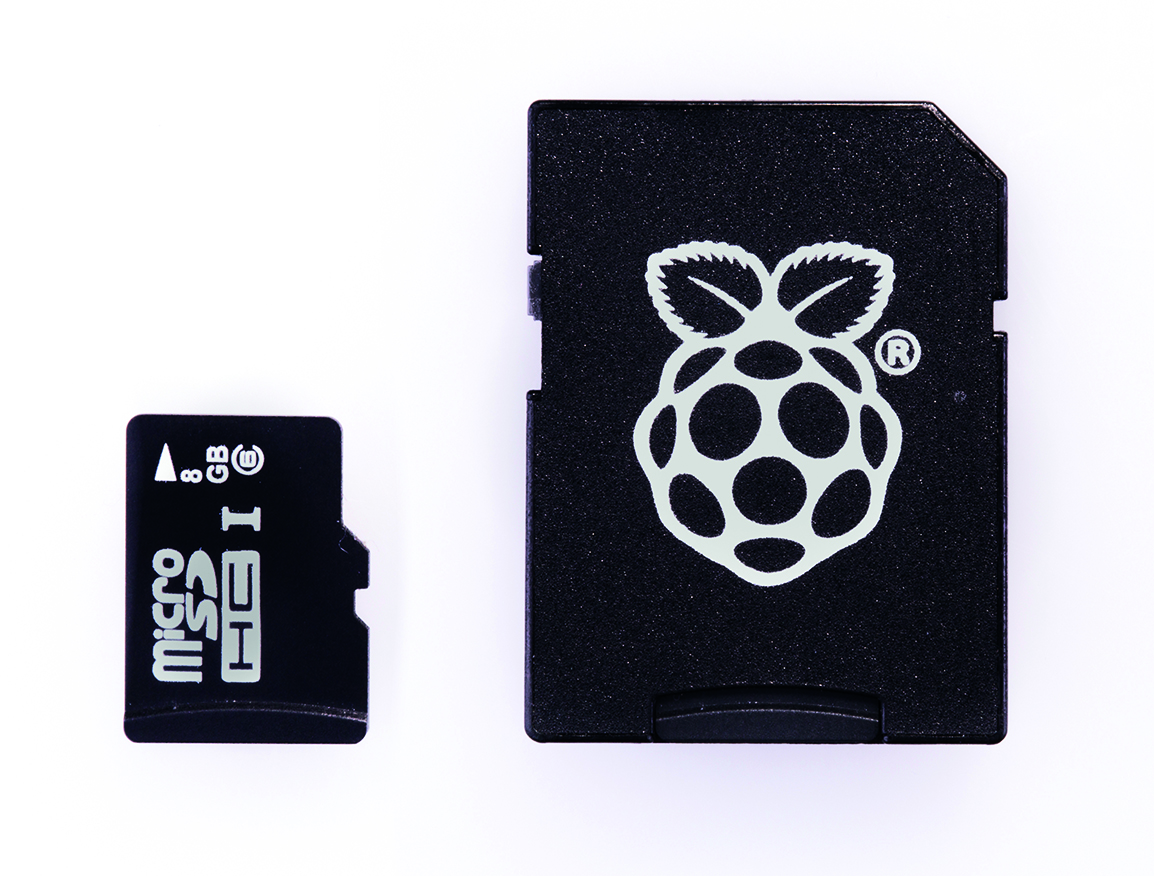
- microSD card . You’ll need a microSD card with a capacity of 8GB or greater. Your Raspberry Pi uses it to store games, programs, and photo files and boots from your operating system, which runs from it. You’ll also need a microSD card reader to connect the card to a PC, Mac, or Linux computer.
- microSD card to SD card (or microSD card USB adaptor). Many laptops have an SD card socket, but you'll need a microSD card to SD card adaptor to plug the small microSD card the Raspberry Pi uses to your computer. If your laptop does not have a SD card socket, you'll need a microSD card to USB Adaptor.
- Computer. You’ll need a Windows, Linux PC (like the Raspberry Pi), or an Apple Mac computer to format the microSD card and download the initial setup software for your Raspberry Pi. It doesn’t matter what operating system this computer runs, because it’s just for copying the files across.
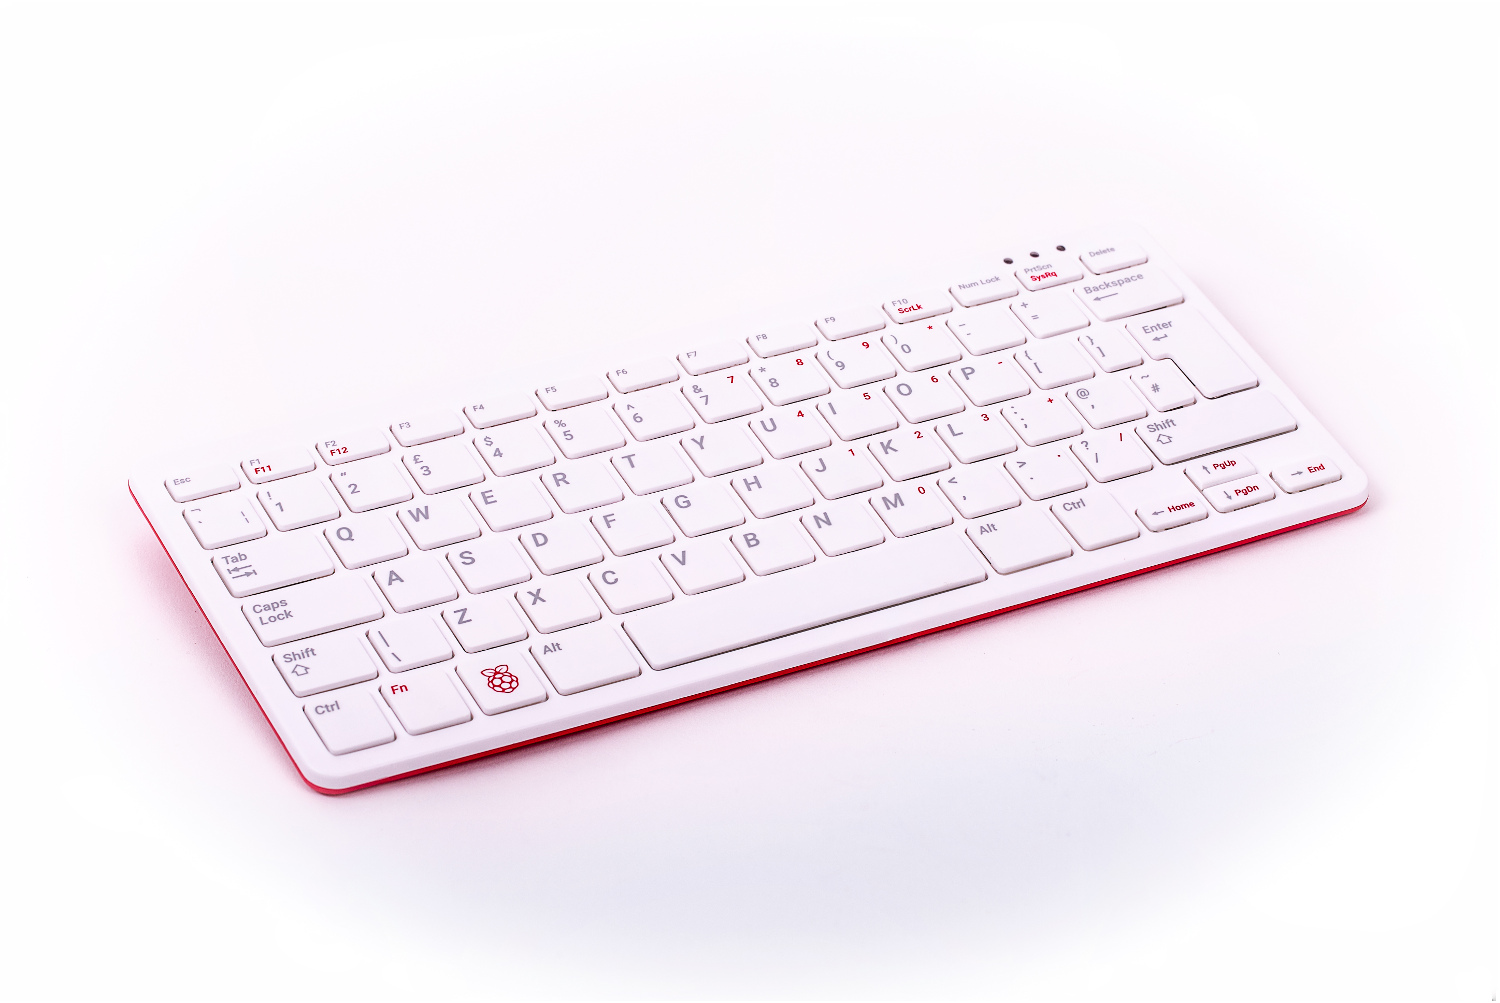
- USB keyboard. Like any computer, you need a means to enter web addresses, type commands, and otherwise control Raspberry Pi. You can use a Bluetooth keyboard, but the initial setup process is much easier with a wired keyboard. Raspberry Pi sells an official Keyboard and Hub.
- USB mouse. A tethered mouse that physically attaches to your Raspberry Pi via a USB port is simplest and, unlike a Bluetooth version, is less likely to get lost just when you need it. Like the keyboard, we think it’s best to perform the setup with a wired mouse. Raspberry Pi sells an Official Mouse.

- Power supply. Raspberry Pi uses the same type of USB power connection as your average smartphone. So you can recycle an old USB Type-C for Raspberry Pi 4 and a smartphone power supply (it should be a 15W power supply to provide effective power to the Raspberry Pi 4). Raspberry Pi also sells official power supplies, which provide a reliable source of power.

- micro-HDMI to HDMI cable. Raspberry Pi 4 can power two HDMI displays, but requires a micro-HDMI to HDMI cable (if you want to reuse a regular HDMI cable you can also buy a micro-HDMI to HDMI adaptor).

- HDMI display. A standard PC monitor is ideal, as the screen will be large enough to read comfortably. It needs to have an HDMI connection, as that’s what’s fitted on your Raspberry Pi 4 board.
Connect the keyboard, mouse, and monitor cables
Raspberry Pi 4 has plenty of connections, making it easy to set up. You'll interact with the Raspberry Pi using a keyboard and mouse
- Connect the keyboard. Connect a regular wired PC (or Mac) keyboard to one of the four larger USB A sockets on a Raspberry Pi 4. It doesn’t matter which USB A socket you connect it to (although we think it's better to use the black connection, saving the faster blue one for other devices). It is possible to connect a Bluetooth keyboard, but it’s much better to use a wired keyboard to start with.
- Connect a mouse. Connect a USB wired mouse to one of the other larger USB A sockets on Raspberry Pi. As with the keyboard, it is possible to use a Bluetooth wireless mouse, but setup is much easier with a wired connection. A regular wired mouse is connected to any of the USB A sockets. A wired keyboard is connected to another of the USB A sockets. If you have a Raspberry Pi 4, it's best to keep the faster (blue) USB 3.0 sockets free for flash drives or other components.
- Attach the micro-HDMI cable. Next, connect Raspberry Pi to your display using a micro-HDMI cable. This can connect to either of the micro-HDMI sockets on the side of a Raspberry Pi 4,we prefer to attach it to HDMI 0, which is the one closest to the power socket. Connect the other end of the micro-HDMI cable to an HDMI monitor or television.
Set up Raspberry Pi OS: Raspbian
Now you’ve got all the pieces together, it’s time to install an operating system on your Raspberry Pi, so you can start using it. Raspberry Pi uses a custom operating system called Raspbian (based upon a variant of Linux called 'Debian').
We're going to use a set of software called NOOBS (New Out Of Box Software) to install Raspbian OS on your microSD card and start your Raspberry Pi
Raspbian is the official OS for Raspberry Pi, and the easiest way to set up Raspbian on your Raspberry Pi is to use NOOBS (New Out Of Box Software).
If you bought a NOOBS pre-installed 16GB microSD card, you can skip Steps 1 to 3. Otherwise, you’ll need to format a microSD card and copy the NOOBS software to it.
1. Download SD Card Formatter tool
Start by downloading SD Card Formatter tool from the SD Card Association website. Now attach the microSD card to your PC or Mac computer and launch SD Card Formatter (click Yes to allow Windows to run it). If the card isn’t automatically recognised, remove and reattach it and click Refresh. The card should be selected automatically (or choose the right one from the list).
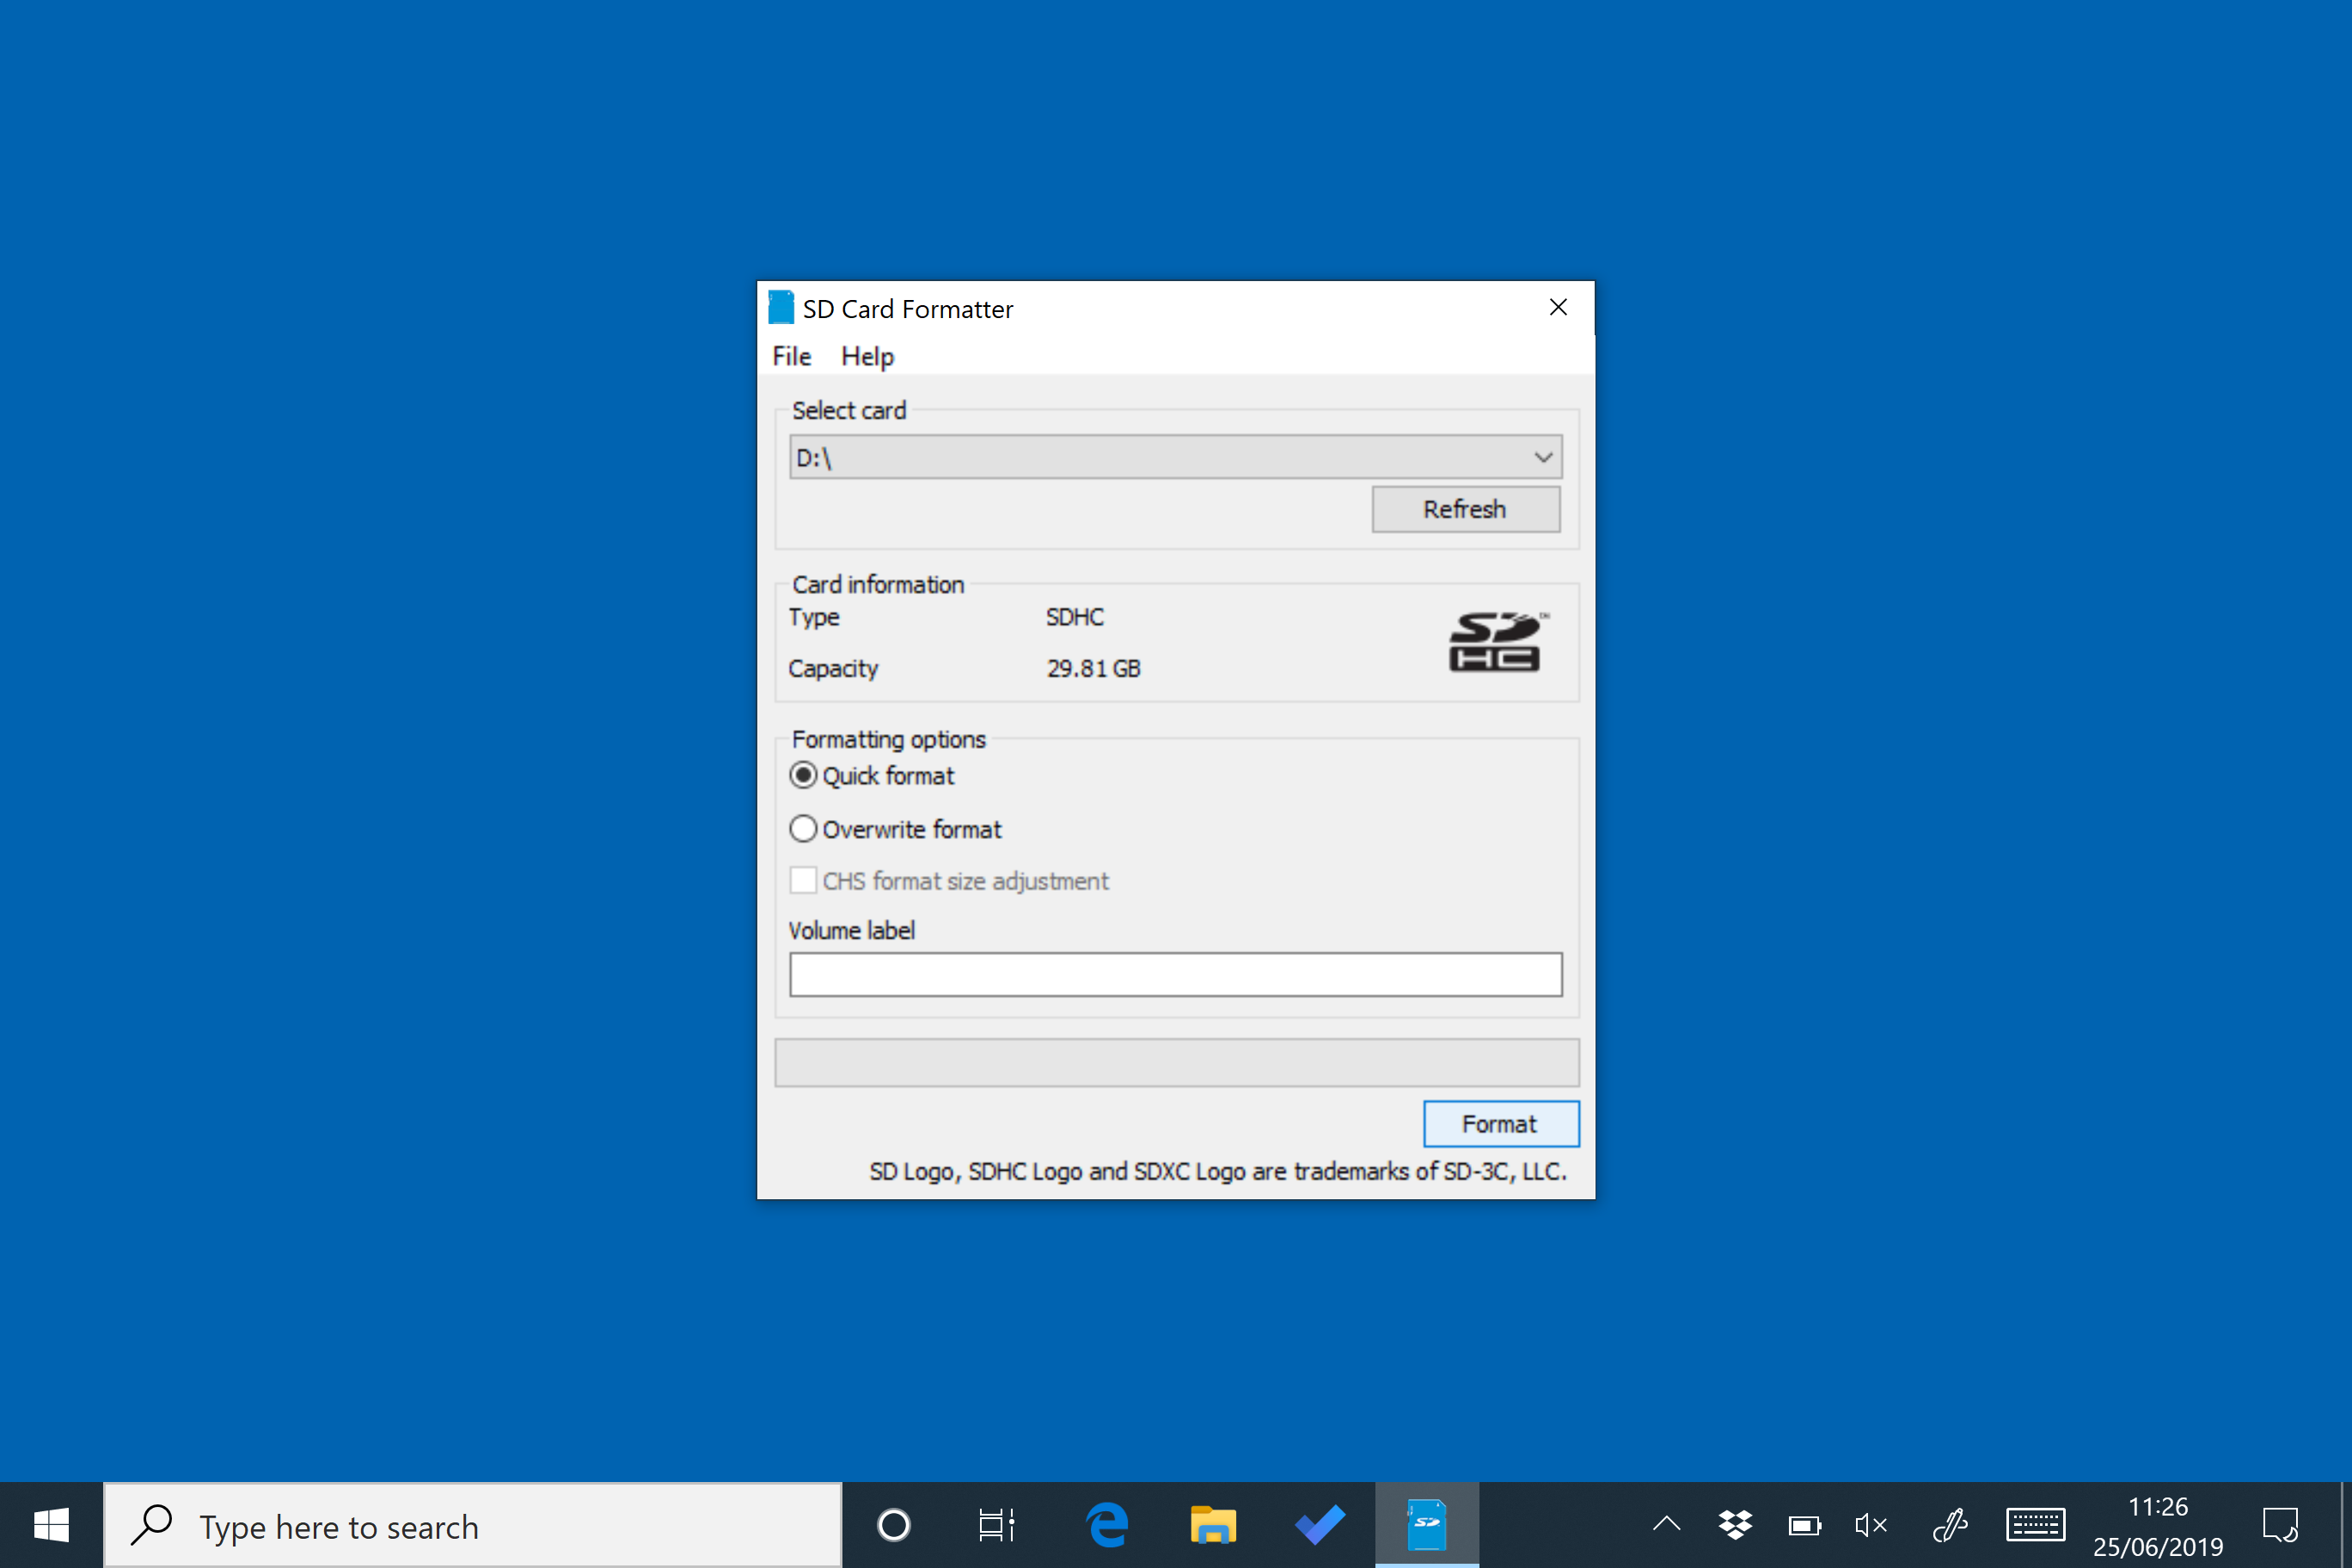
2. Format the microSD
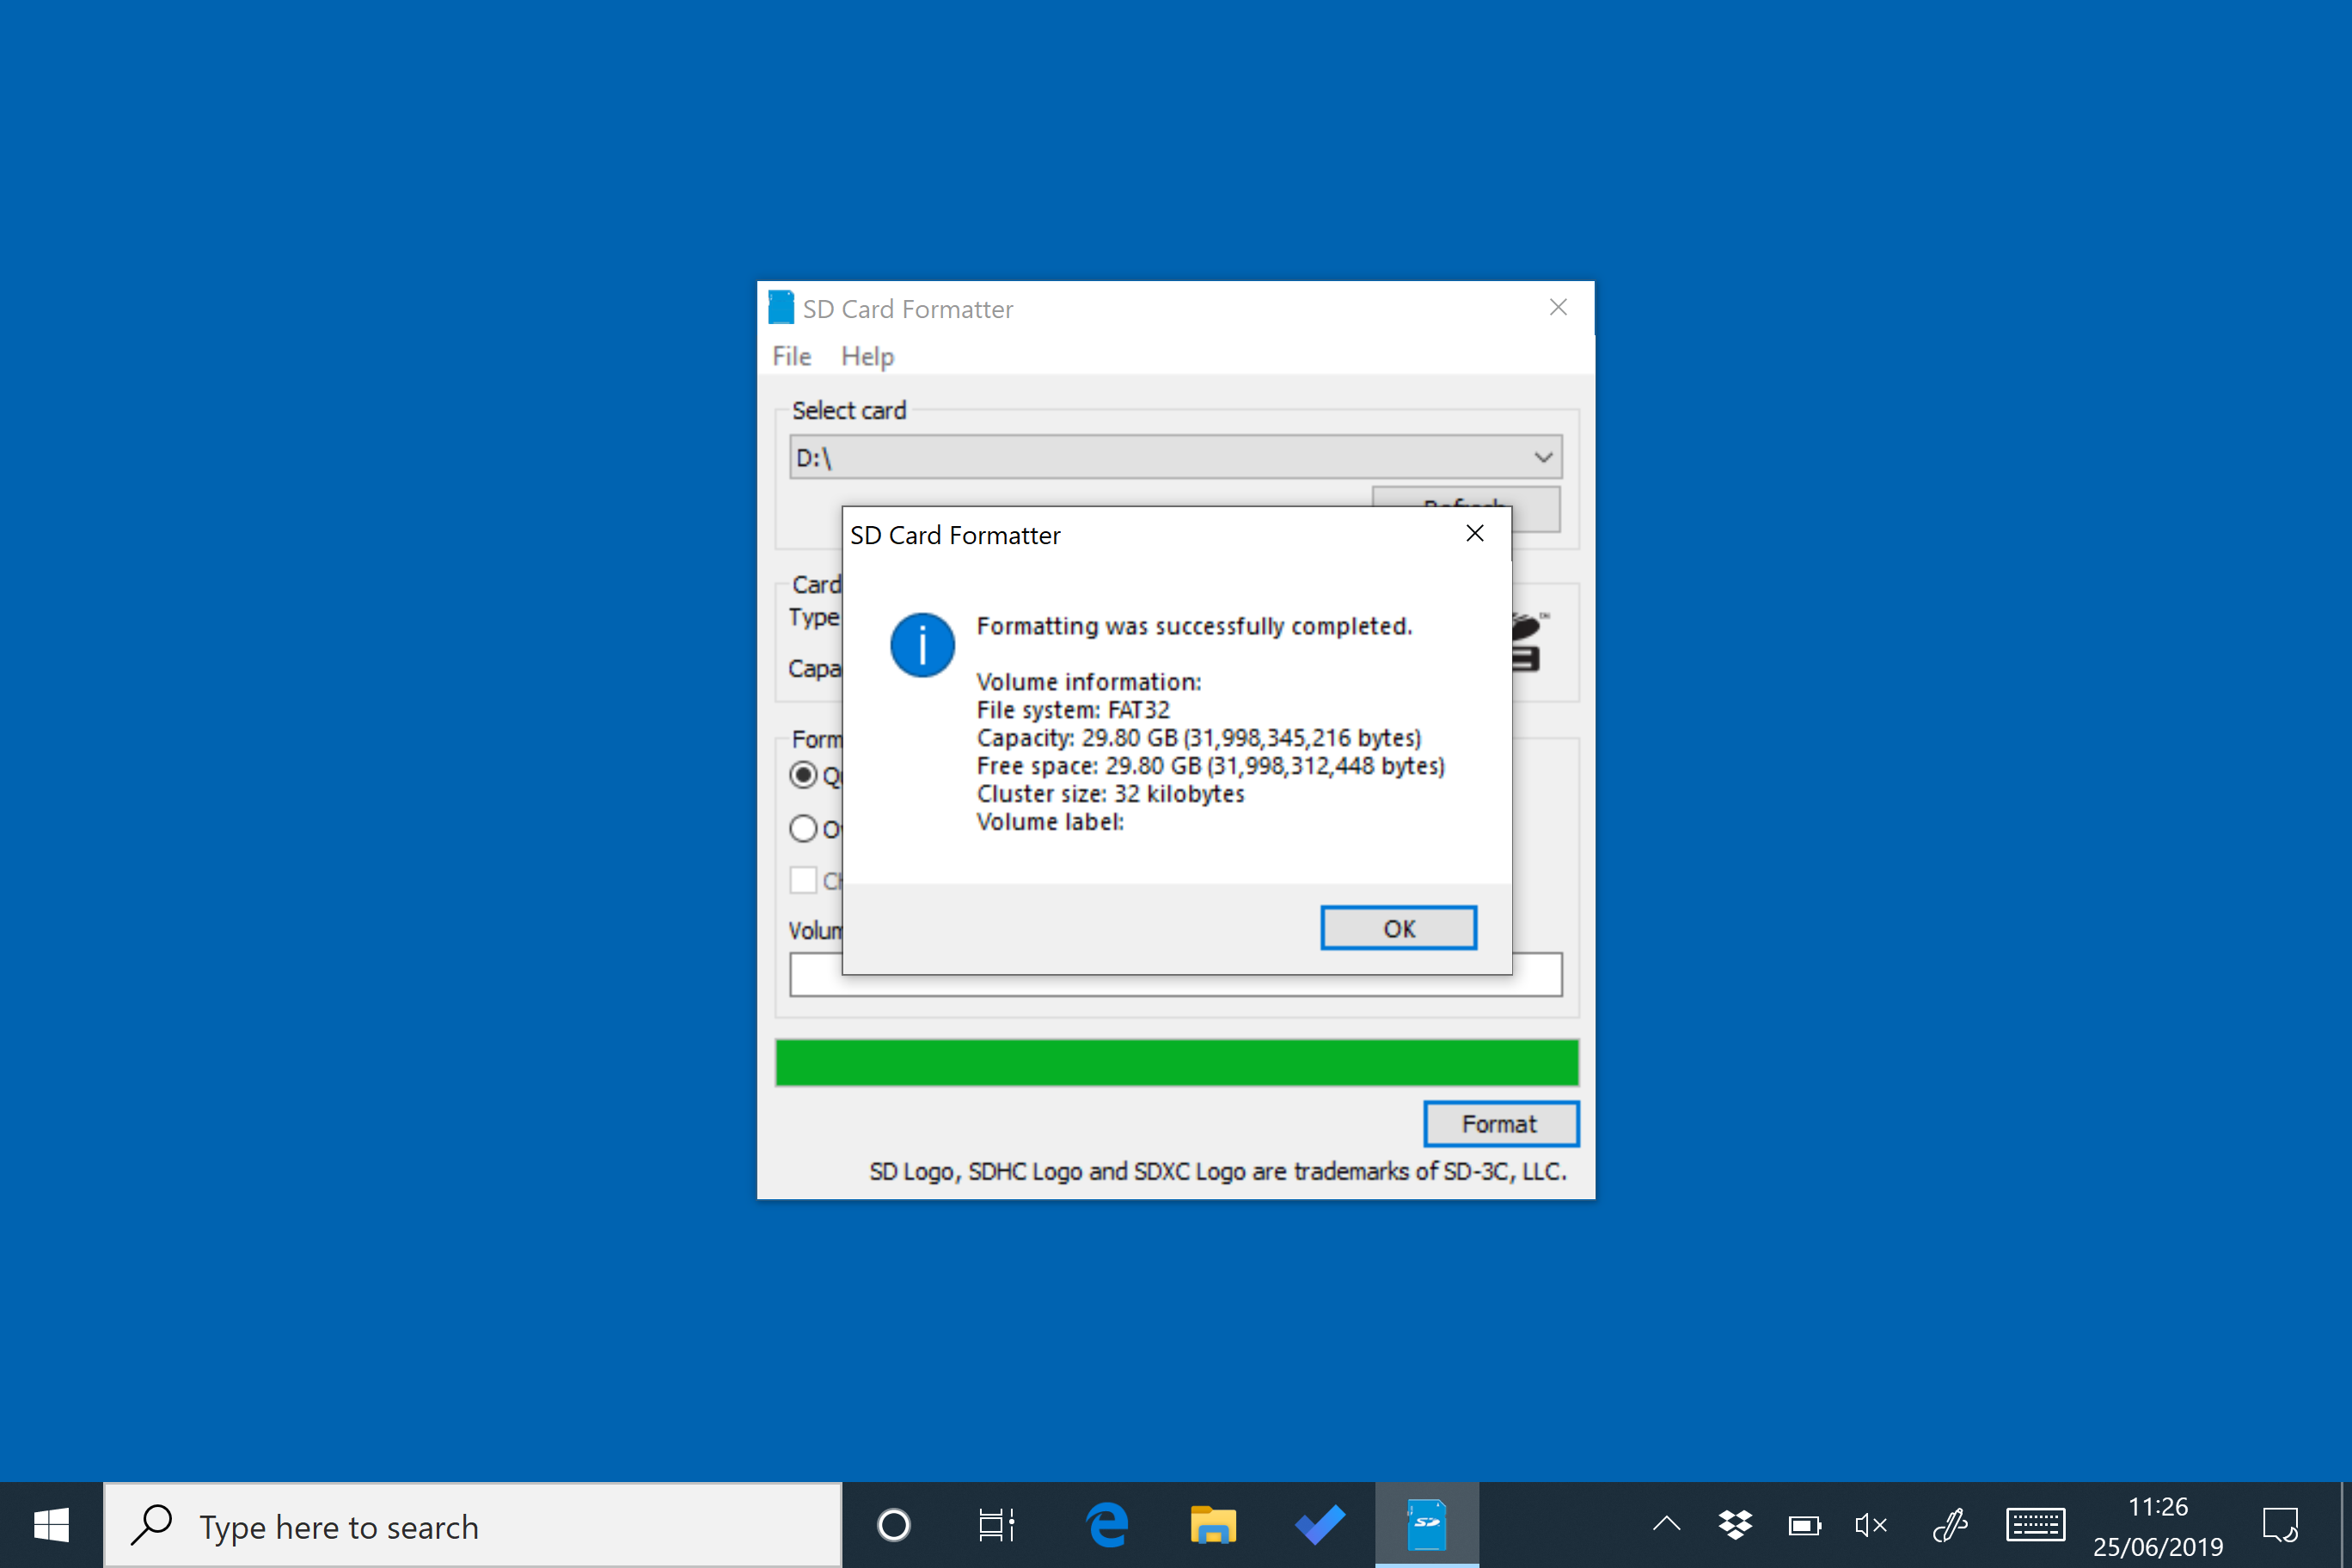
Choose the Quick Format option and then click Format (if using a Mac, you’ll need to enter your admin password at this point). When the card has completed the formatting process, it’s ready for use in your Raspberry Pi. Leave the microSD card in your computer for now and simply note the location of your duly formatted SD card. Windows will often assign it a hard drive letter, such as E; on a Mac it will appear in the Devices part of a Finder window.
3. Download NOOBS
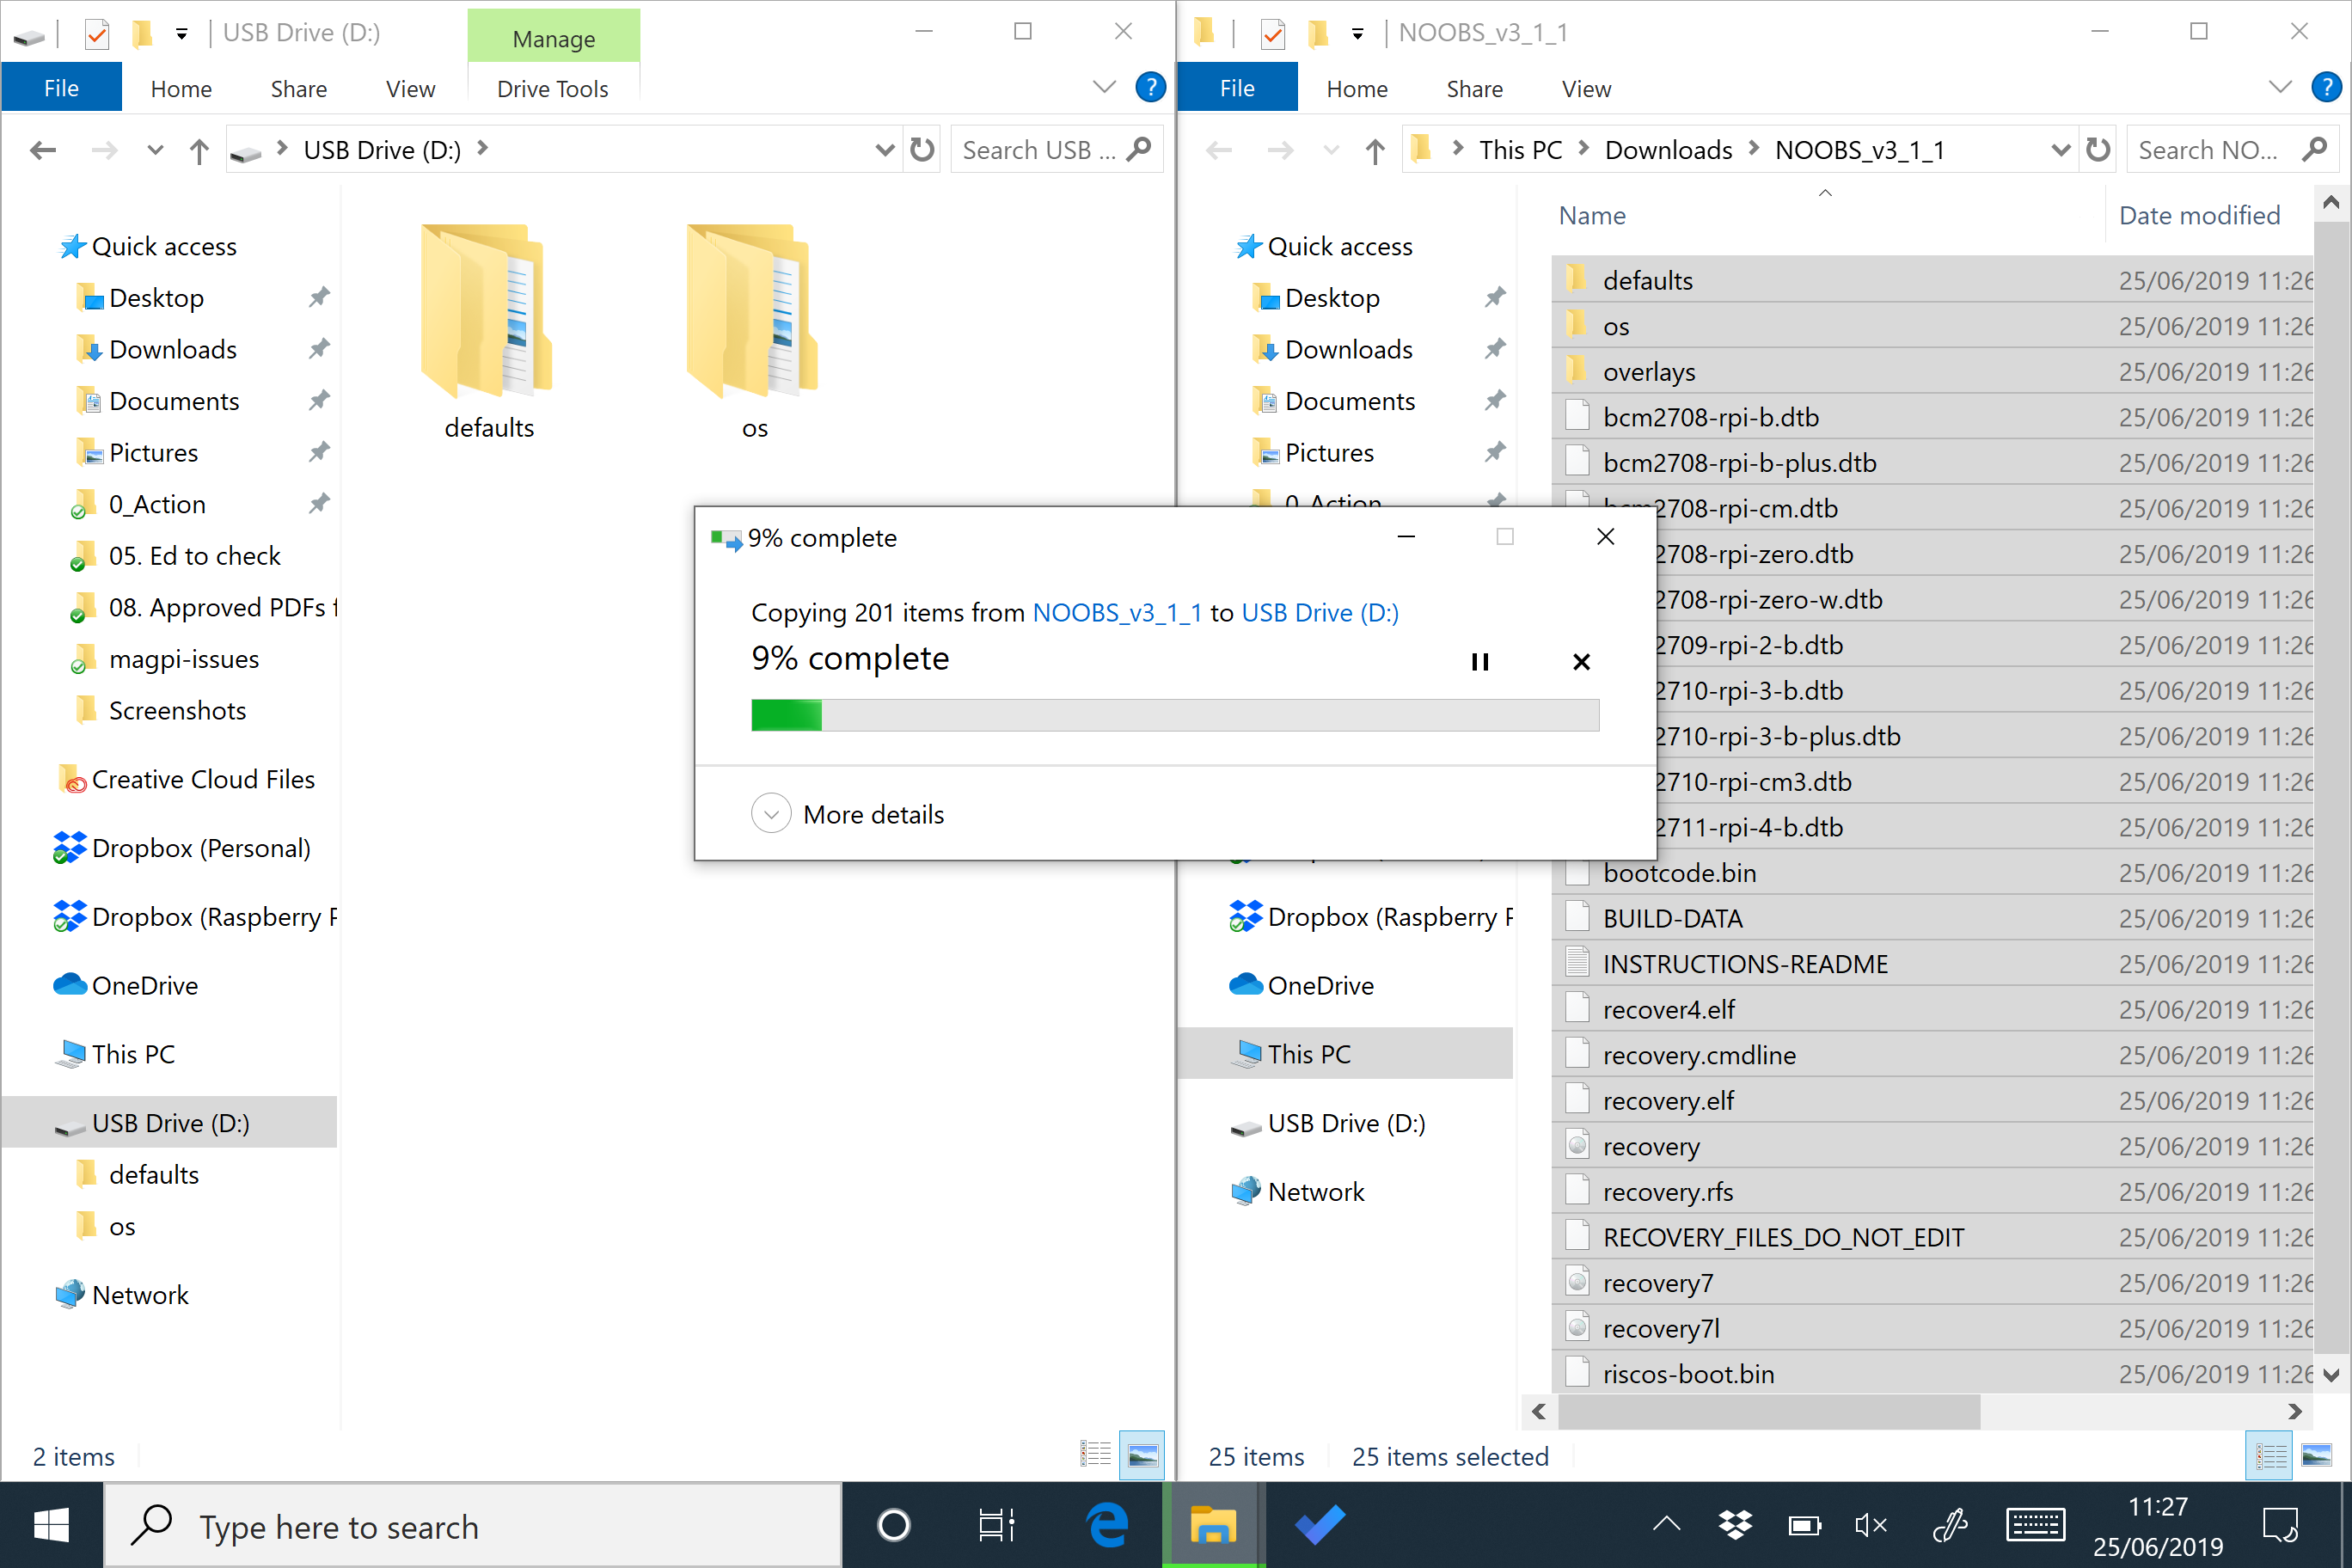
Click here to download the NOOBS software from Raspberry Pi. Choose Download Zip (or use the Torrent file if you're experienced with torrents and wish to save Raspberry Pi the bandwidth). NOOBS (New Out Of Box System) provides a choice of Raspberry Pi operating systems and installs them for you. Click ‘Download zip’ and save the file to your Downloads folder. When the zip file download is complete, double-click to launch and uncompress the folder. You’ll need to copy all the files from the NOOBS folder to your SD card. Press CTRL+A (⌘+A on a Mac) to select all the files, then drag all the files to the SD card folder. Once they’ve copied across, eject your SD card. Be careful to copy the files inside the NOOBS folder to the microSD card (not the NOOBS folder itself).
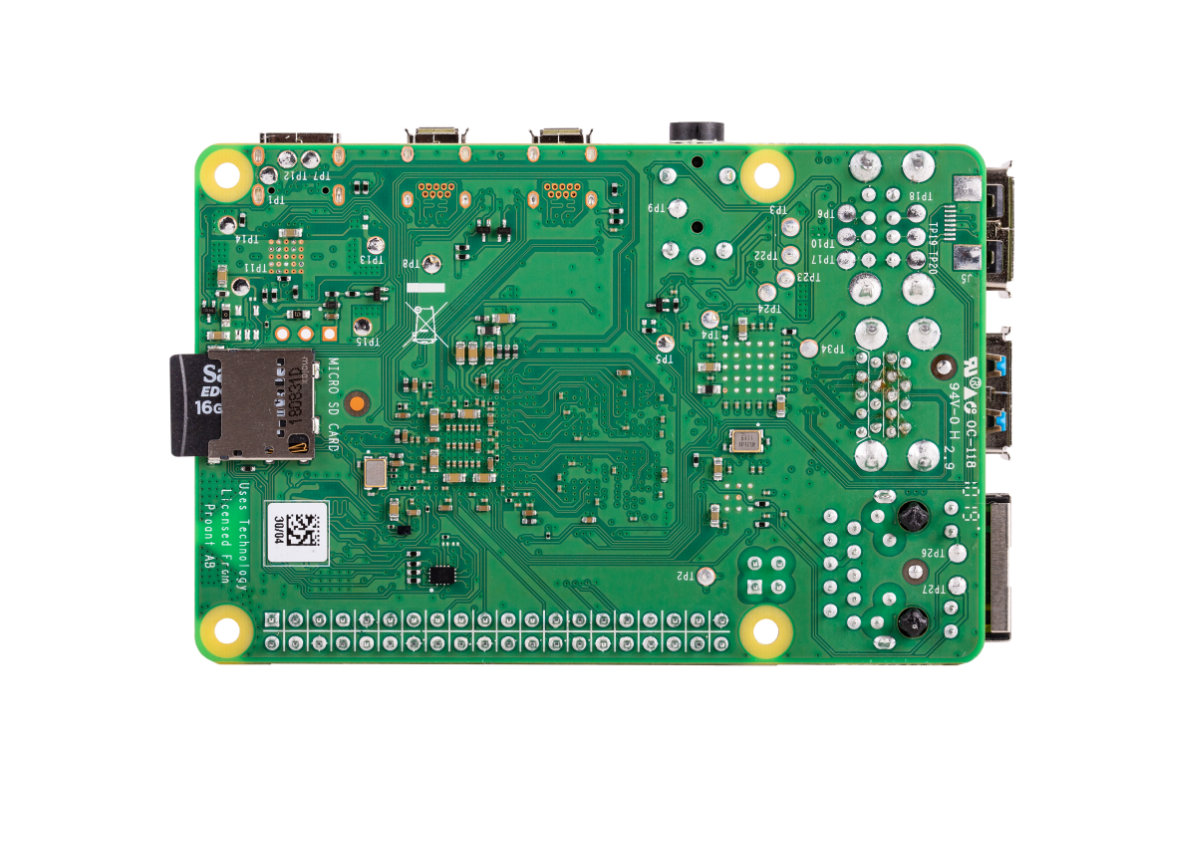
4. Insert the microSD card to Raspberry Pi 4
Now it’s time to physically set up your Raspberry Pi. Flip over Raspberry Pi 4 and locate the microSD card socket underneath. Carefully insert the microSD card. It will only fit in one way around, so if it's struggling to go in flip the microSD card over. Once it's inserted all the way in, it's time to start up your Raspberry Pi. Check that your PC monitor is plugged into the mains and that the HDMI cable is running to the corresponding HDMI port on your Raspberry Pi. Check that both the keyboard and mouse are connected to USB ports on Raspberry Pi 4.
5. Power up
Plug in your Raspberry Pi power supply and, after a few seconds, the screen should come on. When the NOOBS installer appears, you’ll see a choice of operating systems. We’re going to install Raspbian, the first and most popular one. Tick this option and click Install, then click Yes to confirm. For more OS options, instead click ‘Wifi networks’ and enter your wireless password; more OS choices will appear. Installation takes its time but will complete – eventually. After this, a message confirming the success installation appears. Your Raspberry Pi will prompt you to click OK, after which it will reboot and load the Raspbian OS.

6. Welcome to Raspberry Pi
When Raspbian loads for the first time, you will see this Welcome screen:
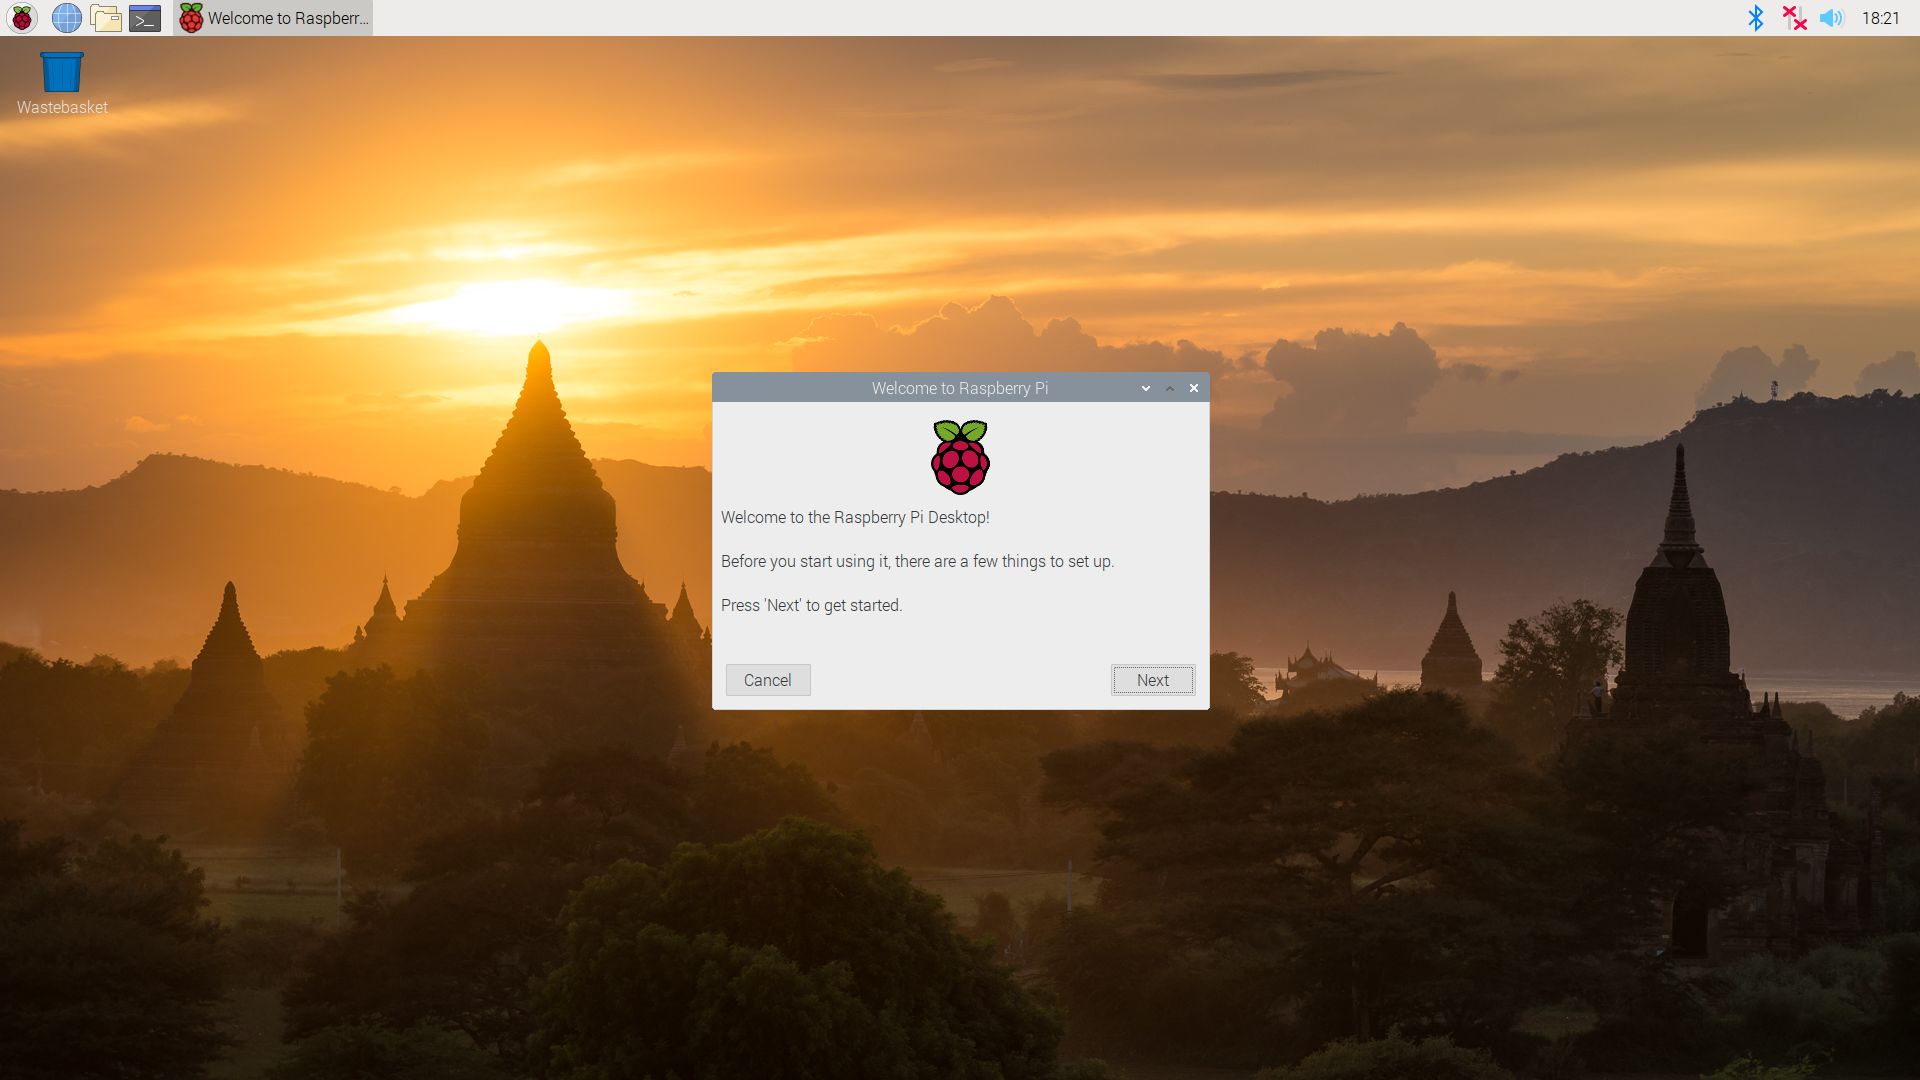
Click Next, when prompted, then select your time zone and preferred language and create a login password. You’re now ready to get online. Choose your WiFi network and type any required password. Once connected, click Next to allow Raspbian to check for any OS updates. When it’s done so, it may ask to reboot so the updates can be applied.
Now you're ready to start using Raspberry Pi. Click the Raspberry Pi icon at the top-left of the screen to access items such as programming IDEs, a web browser, media player, image viewer, games, and accessories such as a calculator, file manager, and text editor. You’re all set to start enjoying your very own Raspberry Pi.
See also:


